


Industry Application


Product Type

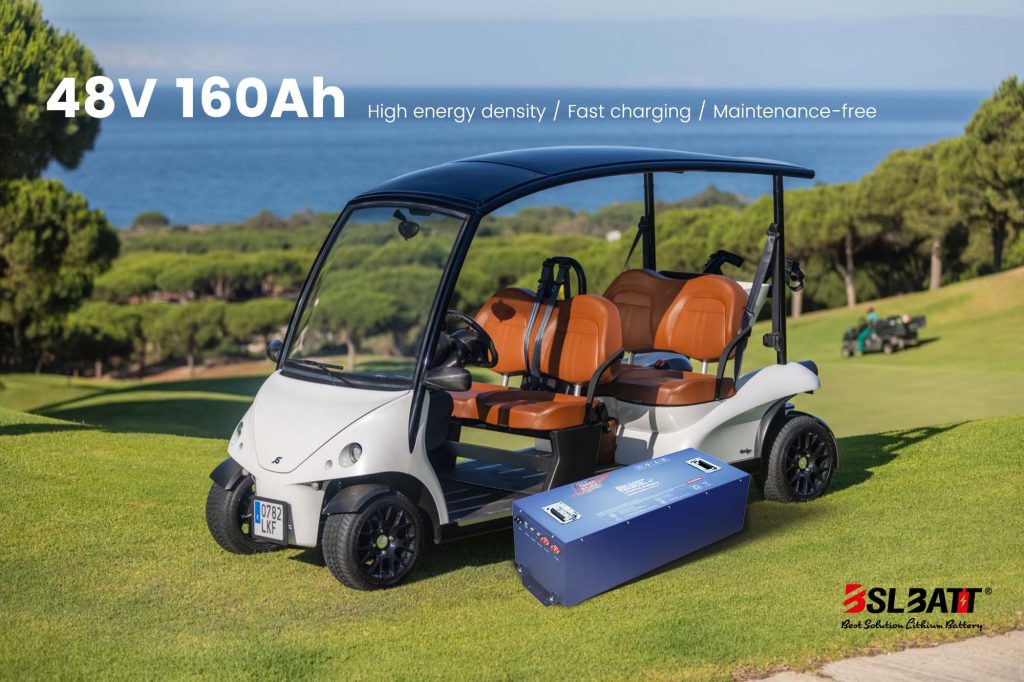
How to Upgrade Your Golf Cart to Lithium Batteries I BSLBATT
Introduction
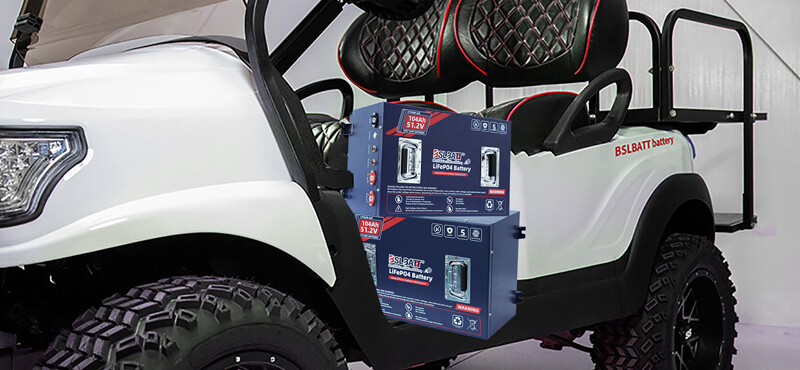
Lithium batteries have become a popular choice for golf cart owners seeking superior performance and longevity. Unlike traditional lead-acid batteries, lithium-ion batteries offer several advantages, including higher energy density, longer life, and lighter weight. These advantages mean your golf cart will have a longer range, faster acceleration, and better overall efficiency.
Installing a lithium battery in your golf cart may seem difficult, but this comprehensive guide will walk you through the process step by step. By carefully following the BSLBATT instructions, you can ensure a smooth transition to a more powerful and reliable golf cart power source. The installation process involves several key steps, including properly installing the battery base, connecting the charging system, and integrating the battery management system. With proper preparation and attention to detail, you can enjoy the benefits of lithium batteries while extending the life of your golf cart.
How to Upgrade Your Golf Cart to Lithium Batteries I BSLBATT
Before installing the lithium-ion battery, remove the old battery and clean the battery tray. Please wear a mask, gloves and goggles to prevent injury.

1.Installing the Battery Mount

Choosing the correct battery mount location is critical for safe and efficient operation. The mount should be installed in a well-ventilated area away from sources of excessive heat, moisture, or direct sunlight. It is also important to ensure that the mount is level and secure, as any movement or vibration can damage the battery and electrical connections.
When securing the battery mount, it is recommended to use appropriate mounting hardware (such as power tools, bolts, or screws) to ensure a secure and stable mount. In addition, consider using vibration-absorbing materials (such as rubber pads) and the BSLBATT mount is designed to fit perfectly to minimize potential vibration that could affect battery performance or life.
2.Installing the Battery

Proper installation of lithium batteries is critical for safe and optimal operation of your golf cart. First carefully place the battery into the designated battery box or tray. Make sure the battery is securely installed and will not move during operation.
3.Install the charger

Proper mounting of the charger is critical to safely and efficiently charging your BSLBATT golf cart lithium battery.
First, determine the ideal location to mount the charger. The mounting location should be well ventilated and away from excessive moisture, heat, or direct sunlight. The mounting surface should be sturdy and level.
4.Connect and install the charging indicator


The charging indicator is an important component that provides visual feedback on the battery’s charging status. Proper positioning and wiring of the indicator is critical for optimal functionality and user convenience.
5.Install and connect the charging socket

• Determine the mounting location and mark the holes for the mounting screws or brackets.
• If necessary, drill pilot holes, taking care not to damage any underlying components or wiring.
• Securely mount the charging socket using the screws or brackets provided, ensuring a tight and stable fit.
• Route the charging cables from the socket to the battery and charger following the planned routing path. Secure the cables with cable ties or conduit to prevent fraying or accidental disconnection.
• Connect the positive and negative terminals of the charging socket to the corresponding terminals on the battery and charger, following the manufacturer’s instructions and observing correct polarity.
After completing all connections, perform a final check to ensure that the charging socket is securely mounted and all wiring is properly connected and secured.
6.Connect the negative pole of the charging and discharging ports


When installing a lithium battery on a golf cart, it is critical to ensure that the polarity of the connection is correct. Reversing the positive and negative terminals can result in a hazardous situation and can damage the battery and electrical components.
Begin by identifying the negative terminal. The negative terminal is usually marked with a “-” symbol or black insulation. Locate the corresponding negative port on the battery and the charge/discharge circuit.
Follow these steps when connecting the negative wire to ensure a safe installation:
• Insert the bare wire into the negative port of the battery, making sure it is fully seated.
• Use a crimping tool or pliers to crimp the connector tightly onto the wire to create a secure connection.
• Repeat the process for the negative port on the charge/discharge circuit, connecting it to the corresponding negative wire.
• It is important to ensure that the negative wire does not touch the positive terminal or any other metal surface, as this can create a short circuit and potentially cause sparks, fire, or component damage.
Double-check the connection to ensure that the negative wire is securely fastened and does not come loose during operation. Proper polarity and a tight connection are critical to the safe, efficient performance of the battery.
7.Connect the positive pole of the charging and discharging ports

Identifying the positive terminal is critical to avoid wiring errors or short circuits. The positive terminal is usually marked with a “+” symbol or red insulation.
First, locate the positive terminal on the battery pack. It should be clearly marked or labeled in red. Next, locate the corresponding positive terminal on the charge port and discharge port (which connects to the golf cart’s electrical system). Double-check the polarity to ensure that you are connecting the positive terminal to the positive terminal.
Using the appropriate gauge wire and connector, securely fasten the positive battery terminal to the positive charge port terminal. Ensure that the connection is secure and there are no loose strands or frayed wires that could cause a short circuit. Repeat this process for the positive discharge port, connecting it to the positive terminal of the golf cart’s electrical system.
During this process, always be careful and keep the positive and negative terminals separated until all connections are properly made to avoid any potential short circuits. It is also recommended to use insulated tools and wear appropriate protective gear such as gloves and safety glasses to minimize the risk of electric shock or sparks.
8.Install and connect the display

Mount and Connect the Display
The display is the control center for monitoring and managing your BSLBATT golf cart lithium battery. Proper mounting and connection are critical to ensure seamless operation and access to important battery data.
Start by finding a suitable location inside the golf cart that is easily accessible and visible while driving. The ideal location should be close to the driver’s seat and away from direct sunlight or moisture. Use the provided mounting hardware to securely fasten the display in place, ensuring a stable and vibration-free mount.
In the battery compartment, locate the screen. This port is specifically designed to interface with the monitor, allowing for two-way communication and data exchange. Securely connect the monitor cable to the designated port, ensuring a secure and proper mount.
With the display mounted and connected, it can now provide valuable information about your lithium golf cart battery. Upon starting the system, the display should illuminate and display various battery parameters such as:
• Battery Voltage
• State of Charge (SOC) Percentage
• Remaining Capacity (Ah)
• Temperature
• Charge/Discharge Status
You can gain real-time insight into the battery’s performance, enabling you to make informed decisions regarding charging, discharging, and overall battery management. This valuable information can help extend the life of your lithium golf cart battery and ensure a seamless and enjoyable driving experience.
9.Connect the battery and charger communication cables

Ensuring proper communication between the battery and charger is critical to the optimal performance and life of the BSLBATT golf cart lithium battery system. This step involves connecting the communication cable to enable data exchange and synchronization between the two components.
Locate the communication cable ports on the battery and charger. These ports are labeled to distinguish them from other ports. If you are unsure of their location, refer to the BSLBATT manufacturer’s instructions or diagrams.
Once you have identified the communication cable ports, carefully connect the cables. Make sure the cables are securely inserted and there is no pulling or tension on the connections. Loose or improperly connected cables can cause communication failures or intermittent problems.
It is important to note that the type or configuration of communication cables may vary depending on the specific battery and charger model you are using. Always use the cables provided by the manufacturer or recommended for your setup. Using incompatible or unapproved cables may result in communication errors, component damage, or potential safety hazards.
10. Turn on the battery to view the battery data

Once all connections have been made, it is time to turn on the BSLBATT lithium golf cart battery and verify that everything is working properly. Locate the power button on the battery and press it to turn the battery on. The display should light up, showing the current state of charge, voltage, and other important battery data.
Next, check that the charge indicator is functioning properly. If the charger is connected and operating, the indicator should light up or show the charge status. If not, double-check the connections between the charger, battery, and charging outlet.
To verify that the battery is charging, monitor the charge status on the display at all times. The charge status should gradually increase as the battery charges. Additionally, you may notice that the battery is slightly warm, which is normal during the charging process.
_proc1-e1720250198737.jpg)
If the display does not show any data or the charge indicator is not functioning, refer to the troubleshooting section or consult the manufacturer’s support resources for further assistance.
Once the battery is turned on and properly charged, you can enjoy the increased performance and range provided by the lithium golf cart battery.
You must be interested in this article, How to Improve lithium Battery Life
FAQ
Can I convert my golf cart to a lithium battery?
A golf cart battery lithium conversion replaces lead-acid batteries with lithium ones that are compatible and suitable for the golf cart’s voltage. In order to upgrade your golf cart, you need a power box, charger, wiring harnesses, and connectors specific to your cart’s make.
Are Lithium Golf Car Batteries Worth the Money?
Longer Lifespan:In general, lead-acid batteries last 300-500 charge cycles, while lithium batteries can last over 4,000 charge cycles or more. In the long run, this means lower replacement costs and total cost of ownership. After 3,500 cycles of charging and discharging, a BSLBATT guarantees 80% charge
How many lithium batteries are needed to run a golf cart?
Battery capacity and passenger number determine this.
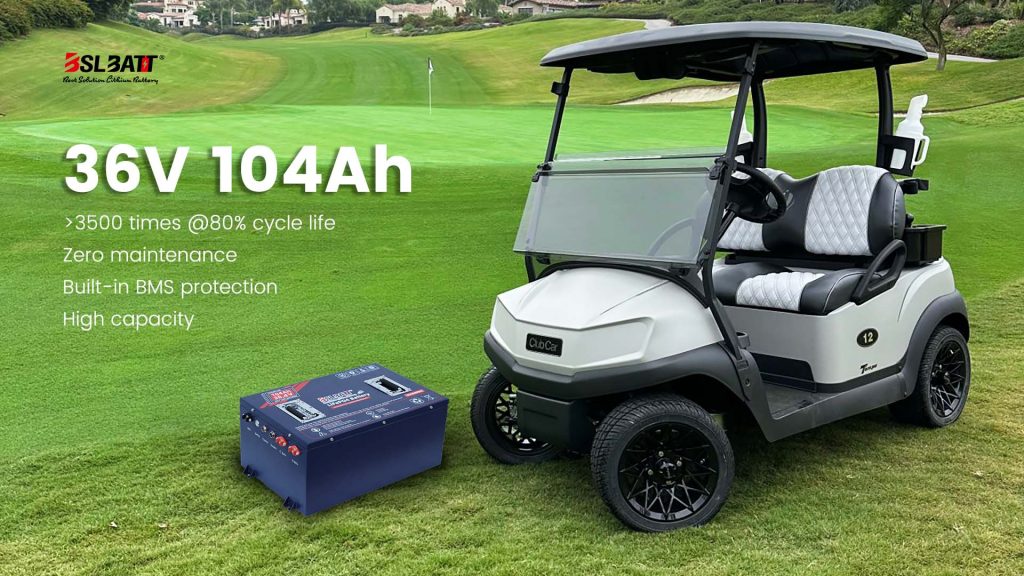
For example, a 2-passenger golf cart with 36 volts and 100 ah can travel 50-70 miles with only one BSLBATT new technology lithium battery.
If you use lithium batteries of the same size as lead-acid batteries, you will need 6 volts *6 or 12 volts X3, that is, 6 or 3 batteries. Feel free to contact our battery experts if you have any questions.
A Guide to Choosing the Best 48V Lithium Golf Cart Battery
Would it be worth investing in a 48V ...

10 Exciting Ways To Use Your 12V Lithium Batteries
Back in 2016 when BSLBATT first began designing what would become the first drop-in replacemen...

BSLBATT Battery Company Receives Bulk Orders from North American Customers
BSLBATT®, a China Forklift battery manufacturer specializing in the material handling indust...

Fun Find Friday: BSLBATT Battery is coming to another great LogiMAT 2022
MEET US! VETTER’S EXHIBITION YEAR 2022! LogiMAT in Stuttgart: SMART – SUSTAINABLE – SAF...

Looking for new Distributors and Dealers for BSL Lithium Batteries
BSLBATT battery is a fast-paced, high-growth (200% YoY ) hi-tech company that is leading the a...

BSLBATT to Participate at MODEX 2022 on March 28-31 in Atlanta, GA
BSLBATT is one of the largest developers, manufacturers, and integrators of lithium-ion batter...

What makes the BSLBATT the Superior Lithium Battery for your Motive Power needs?
Electric forklift and Floor Cleaning Machines owners who seek the ultimate performance will fi...